background

Followers

crafts u print

Craftsuprint - The Worlds Largest Legal Craft Download Site!

Friday 25 February 2011

Little touch of pink

Joined in Crafters Companions Forum live craft evening this week.
We don't know what we are making at the start, and just have a basic list of supplies to get ready.
We then follow Ellen's instructions and photos of each step until we have a finished card.
We all chat as we are going along each step its a fun evening

The papers and topper are from MCS Glam 50 CD, The matching envelope was made using the same papers and a Transparent envelope image from Paper creator put together in the MCS program

Photobucket

Wednesday 23 February 2011

Purple illusion necklace

Well Got the Bug back and did another one as I had all the tools and bead boxes out, This one is Purple Jasper and Amethysts chips with some silver beads and toning glass beads thrown into the mix

Not a great Photo light is pretty poor here today, none stop rain and dark clouds.
But very pretty up close.
please see the black and red one in the post below
Thanks for stopping  by
Photobucket

Floating Necklace

Treated My self to a shopping spree got some black grey pinstripe trousers  and also picked up  a black Jumper to go with them.
So this morning got out my beads and made myself a floating necklace to wear.
I was planning in making it all black and gold but somewhere along the making plan changed and I ended up popping in these red and black speckle stones that I have had in my stash for awhile 
 I did not want it to be a heavy looking full beaded necklace so that why I went for the floating bead look.
Its so light when it on you don't notice it, I hate the feel of heavy necklaces
Thanks for stopping by

Photobucket

Wednesday 16 February 2011

WOYWW time Again

Its WOYWW time again.
If you would like to join in pop over to Stamping Ground and join in, or just have a little nosey at other crafters desks
 Well bot of mine are a mess today, In the top photo I have been making Handmade roses.
Ready to go on and Altered frame that you can just see to the side.
Oh can also see grandsons baby alarm sitting at the back.
Photo below is the mess from yesterday crafting session.
I had finally gotten around to altering my ATG gun.
Use Plati-kote paint £5 A tin and some glitter Stickers.
So easy and I love it.
See the post below for better photos.
So girls with the nasty yellow guns get some paint bling it up , I would love to see what you do

Thanks for stopping by
Off to shower then I will be visiting Some of your blogs
Photobucket

Altered ATG GUN

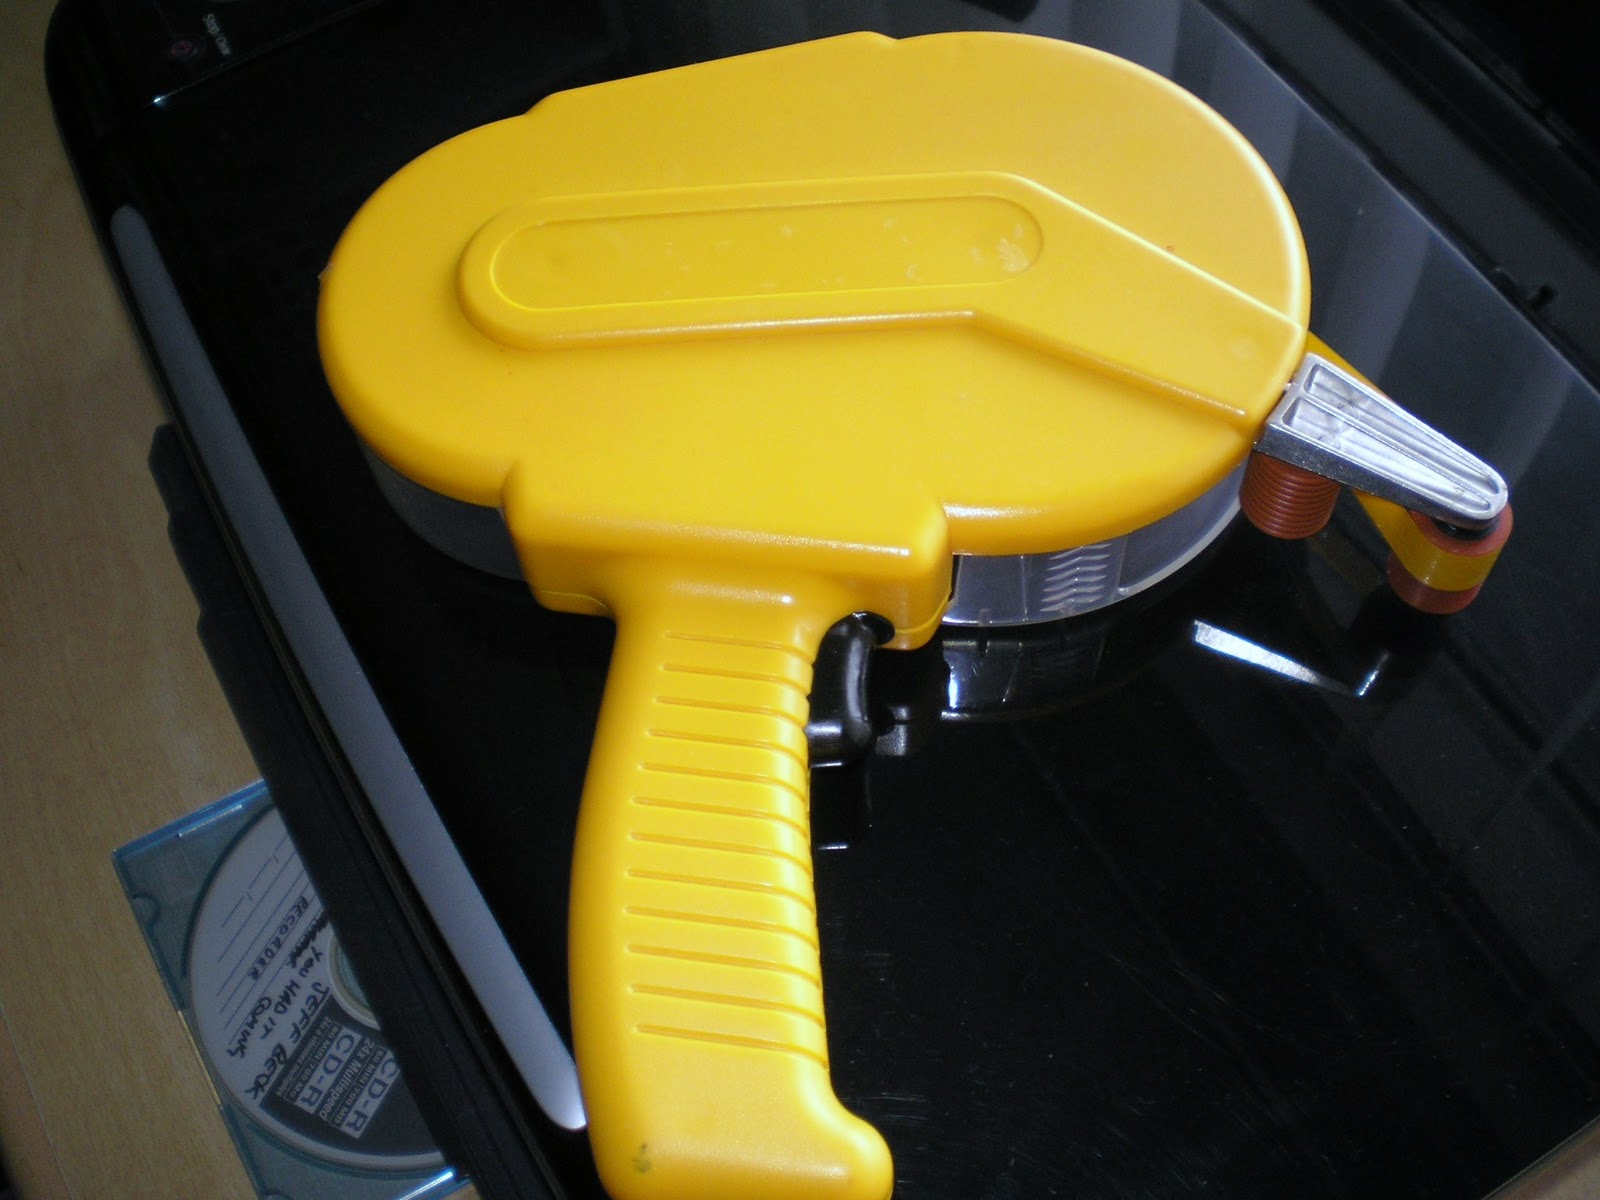
WEll as you know from my previous post last year I got myself an ATG gun, and I love it, saving myself a small fortune on buying the smaller tape pens.
The only thing its not very pretty in it original colour.
I have been reading blogs and watching you tube videos, seeing  all you clever crafters alter your guns, so decided to have a go myself
 So I got me a tin of Plasti-kote and had a play.
First I needed to take out the inside reels and tape up all the workings with masking tape, 
then I was free to spray.
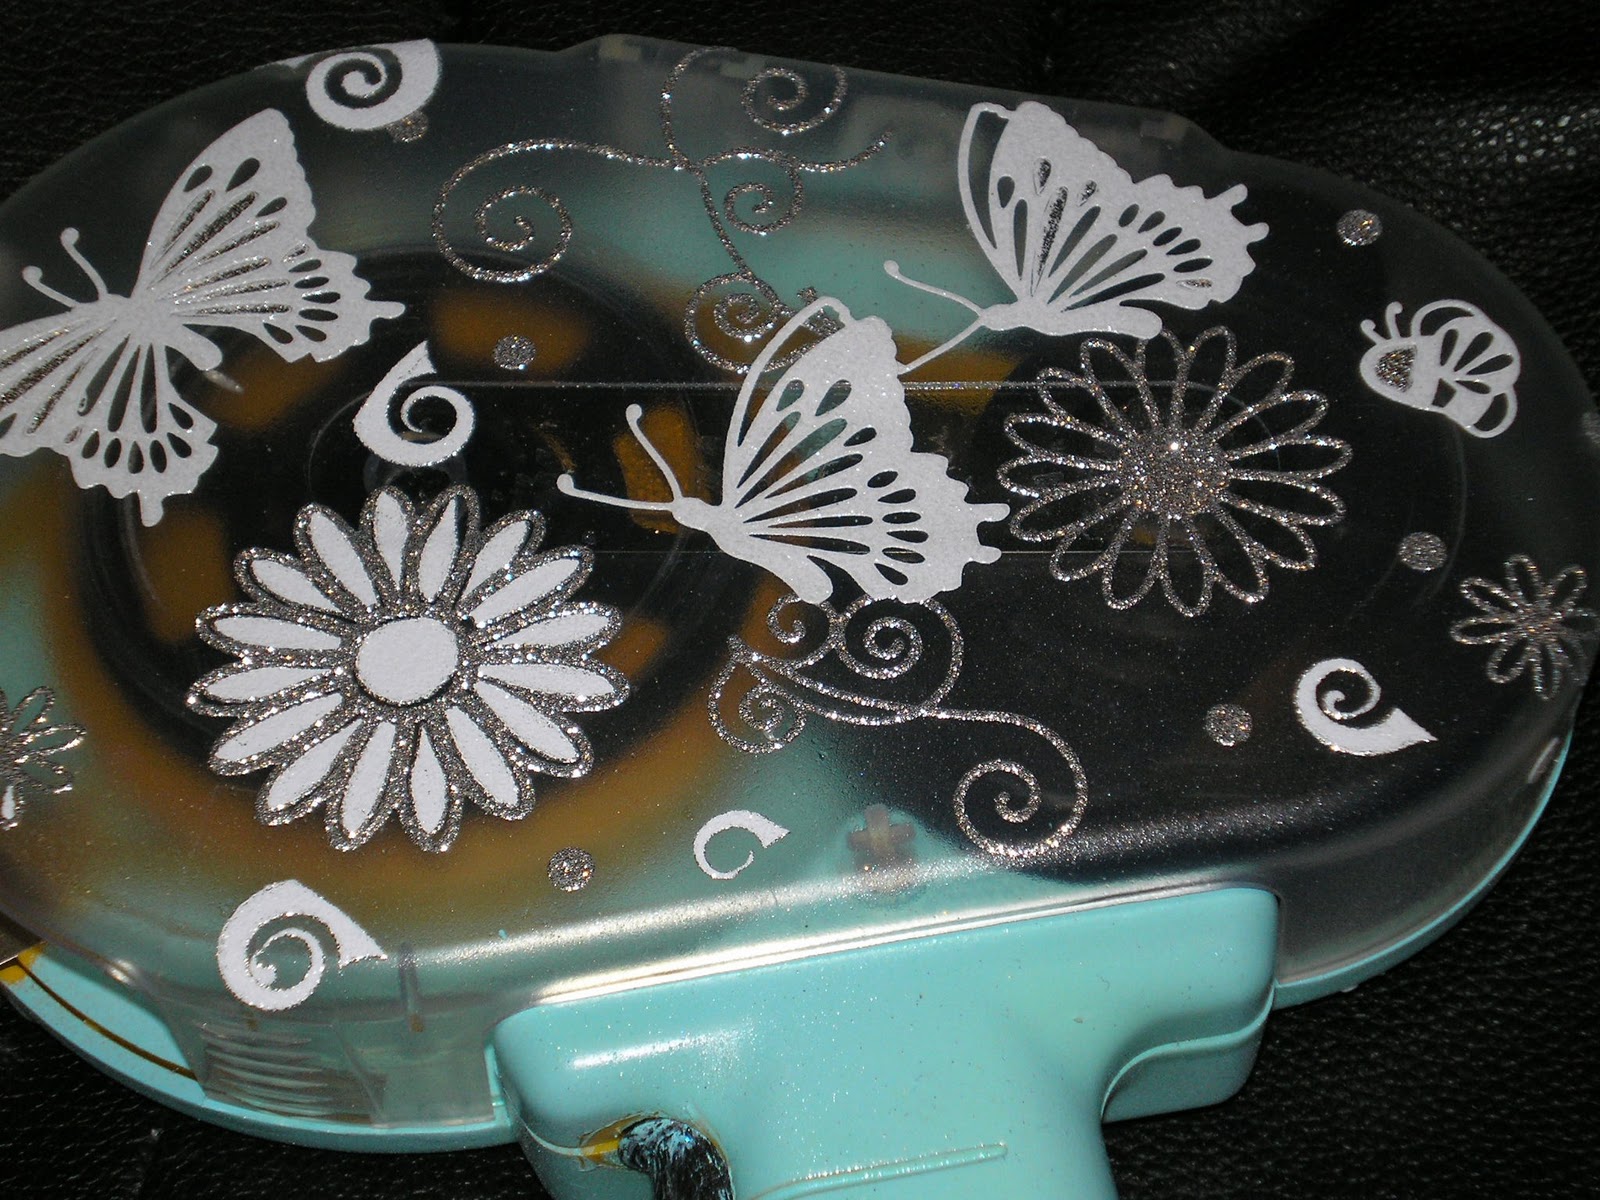
I have seen so many pink guns that are all stunning, so for mine I went for this pretty blue shade

 The clear back of the gun I did not spray, i liked it se through, but later on i did go over it and the rest of the gun with Crafters Companion iridescent sparkly spray.
The peel offs are Anitas glitterations 
So the photo below is the back view


Here you can see it a bit closer up, Sorry the all over glitter is not showing up to well in the Photo, but it does sparkle so nicely when the sun catches it
 TA DA
This is how it looks from the front with all the nasty Yellow covered up.
I added my Name with Gen stickers, then some more of the glitter stickers.
Then I could not help but bling it up a bit by hot gluing some more gems, to frame my name and as centres to some of the flowers

 more close ups.
Just love the swirl stickers
 I did tape up the trigger very well put lots of painters tape on it, but you know paint some still managed to seep through, so still working with paint thinners to clean it up a bit
 Another close view of the back
So I am very pleased with the finished result; and have been putting off doing it all for months, but it was easier than I thought.
Just one bit of advice, Do 3 thinner coats rather than one thinker one.
It does build the colour up nicely, And always put Extra tape on that trigger.
Saves you having to remove the seeped pain.
Thanks for looking
Please leave a comment as I would love to know what you think
Photobucket

Sunday 13 February 2011

Valentines Card

This is just a Quick card for Hubby tomorrow.
I have had this design for ages it came from craftuprint ,so I thought it was about time I used it
This is the front view

And this is how it looks from the back
Its very easy to do just print and assemble, 
Its nice to just be able to do something quickly, while 19 month old grandson is sleeping.
Thanks for stopping by 
Photobucket

Friday 11 February 2011

Heart Box

Here is a little box of sweet treats for the Hubby ready for valentines day
First photo is the box, sweets, we have jelly bean hearts and love heart .Also shown is the stand

This next photo is a closer view
I cut the heart out on my cricut, the white flower is one I made myself using one of Penny Duncan SVG files
The smaller red ones are from Wild Orchid Crafts, The red hearts are a Martha  Stewart punch, Tied the Lace into a small bow, then popped a feather into the back of the arrangement 
 This is how it all look with the sweets inside and standing on it stand

Thanks for stopping by
Photobucket

Tuesday 8 February 2011

Double Twisted Easel Card Instructions

Here is a Double Easel Card, on a forum I belong to someone asked how it was made.
So I did a simple instruction sheet
 First cut your Base card into 8X8 inch Square
Then fold in half

 Measure 4 inches from one side along the top, cut down to the fold line see photo

 Then you score from corner to corner ,and fold each side as in the photo below, I have added some pattern card so that you can see how it fold better


Then you add double sided tape to the edges, where I have marked in green

You then take your base card and cut two 4x4 inch square toppers.
 you take your toppers and add them one on each side as in the photo 

Then when you fold your card back up it will look like this
All you then need to do is decorate each side.
Please keep checking as you decorate, that your embellishments are the right way up, as they will look different when folded into position
 Here are some close ups of the finished card
Papers are from papermainia Blueberry Hill
Topper is a download from Funky kits
Flowers are from Wild Orchid Crafts
Punches are Martha Stewart
Image coloured with Promarkers
Thanks for stopping by

Photobucket